
A few days ago I shared my son’s first birthday party. The theme was “first trip around the sun” and you can see more pictures here. I made most of the decorations myself and wanted to share with you how I did some of these projects.
——————————————————————————————–
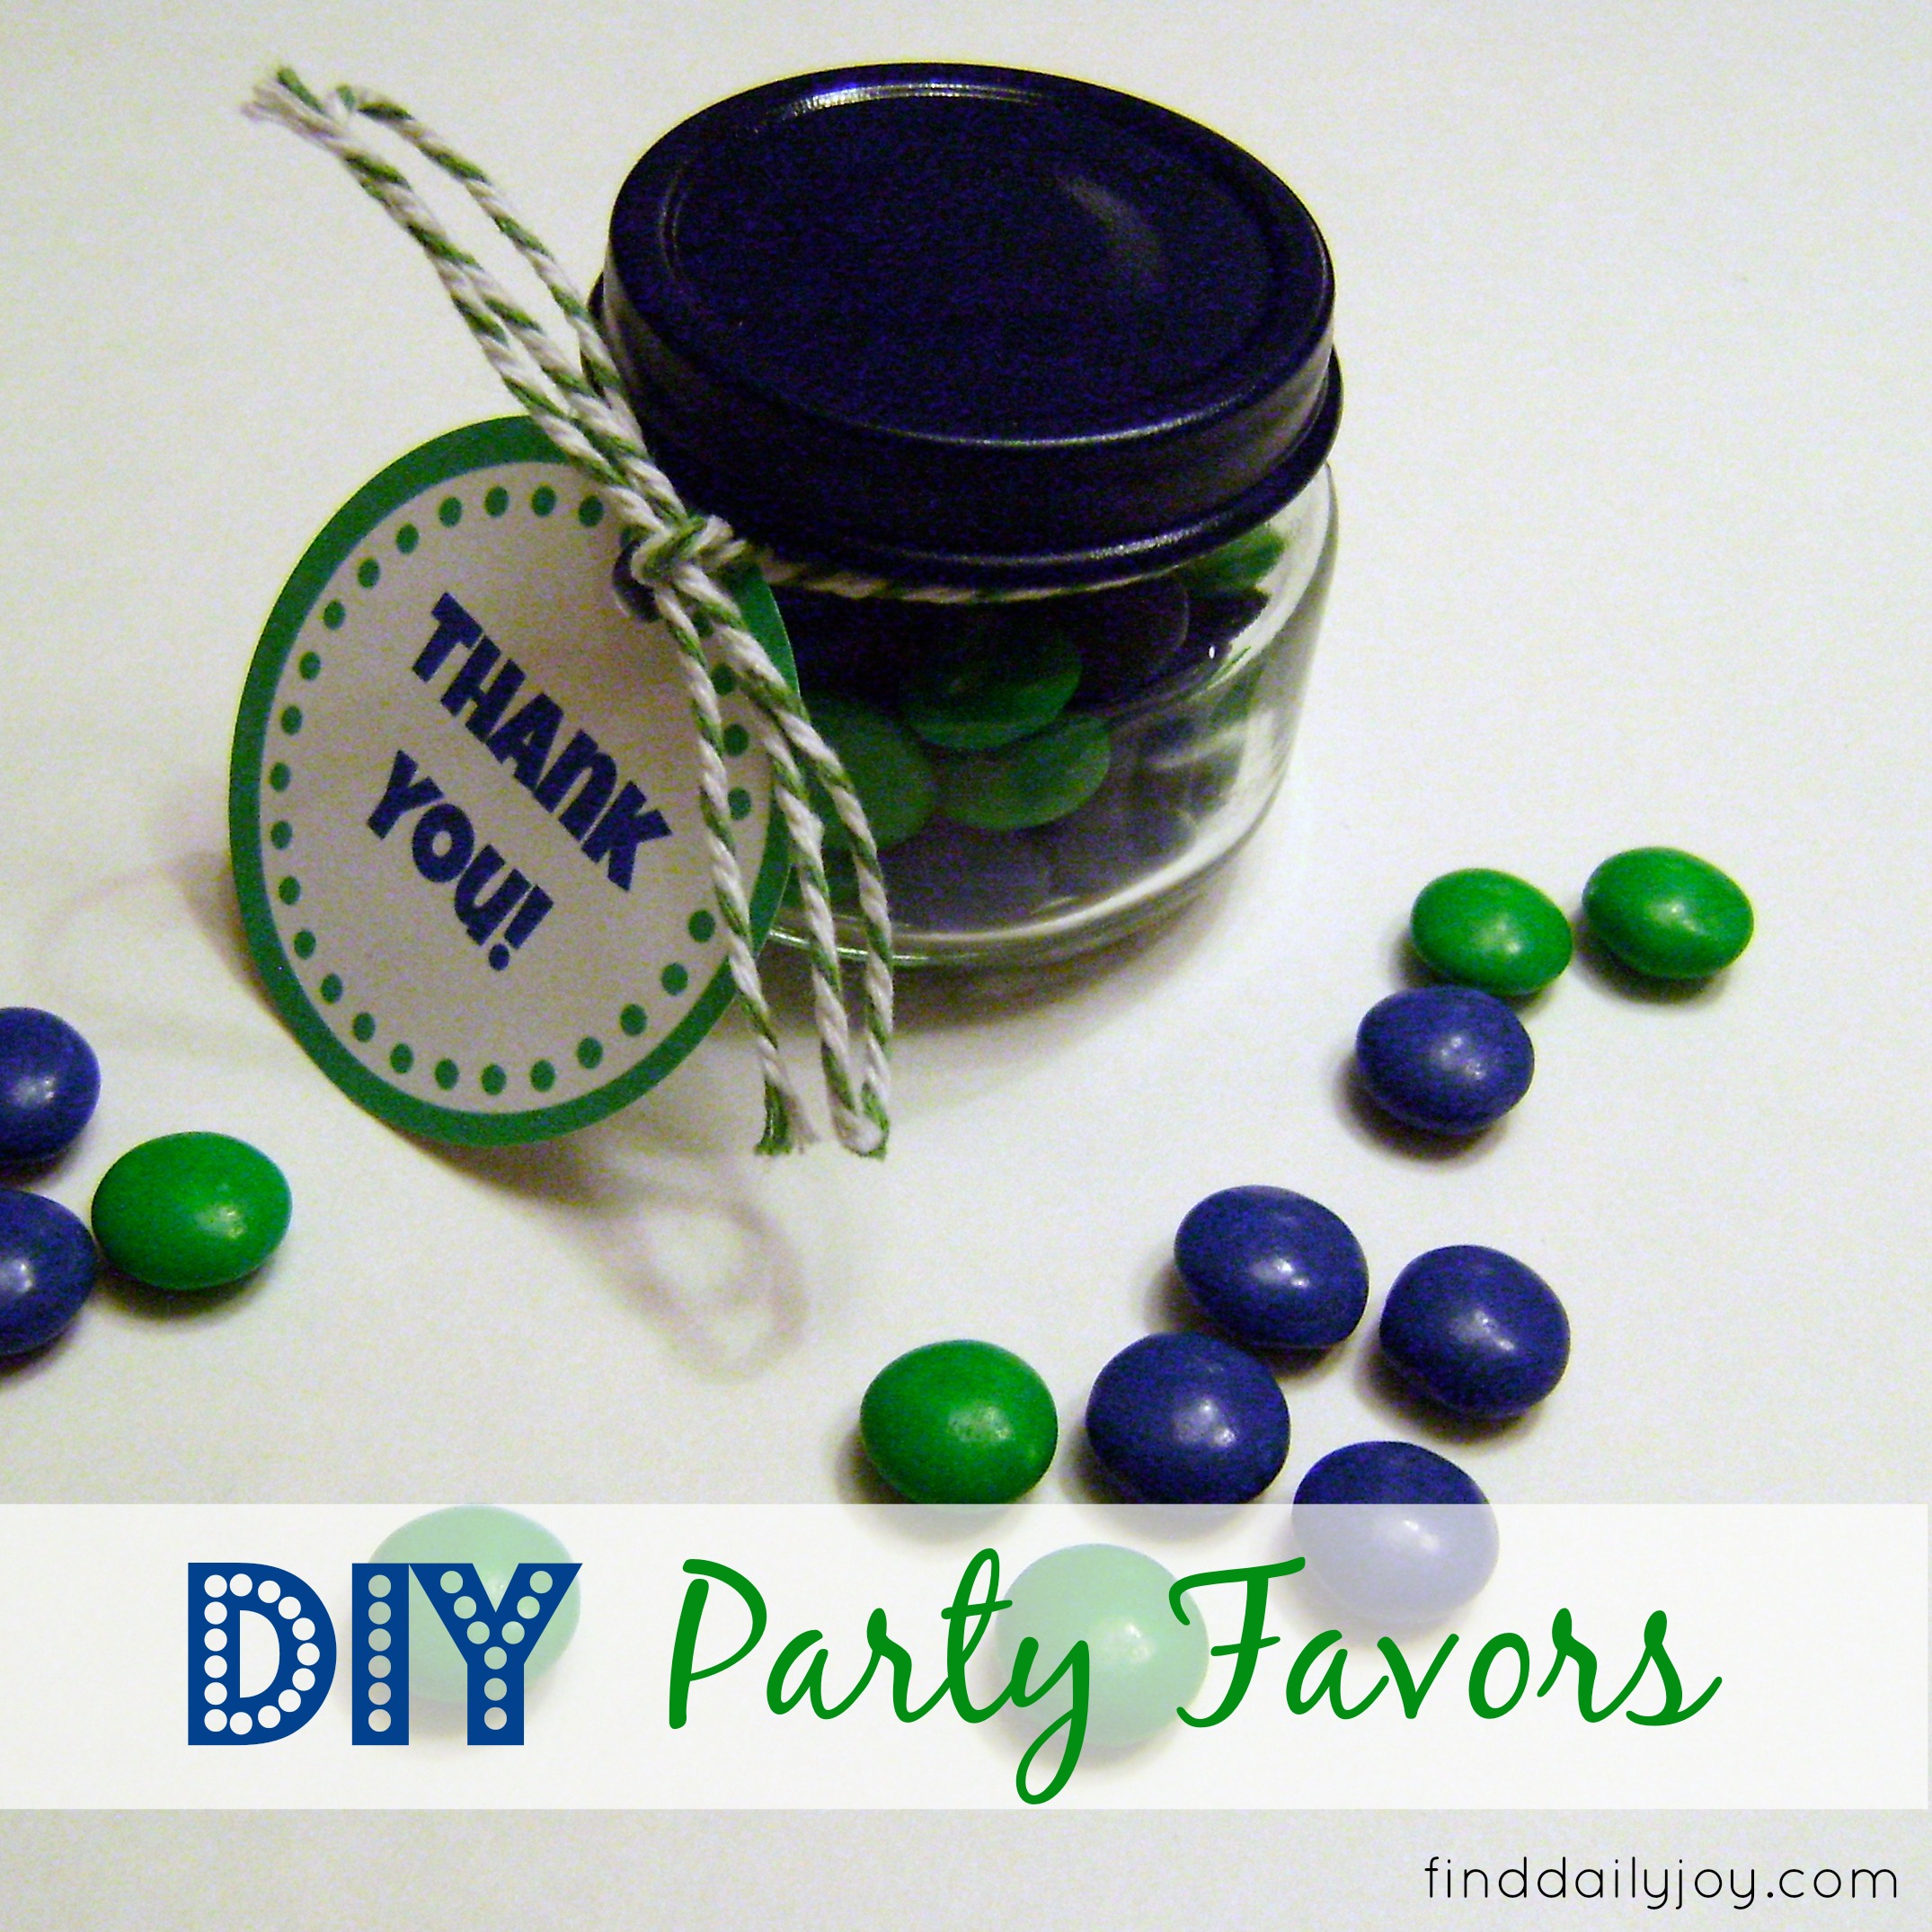
Today we are wrapping up this party series with the very last item at my party. The favors! I wanted to send a little something home with the guests as a thank you for helping us celebrate Henry’s special day.

First up, we have the candy jars. For this project you will need:
- Baby food jars (Did you know you can buy them on eBay?)
- Spray paint
- White card stock
- Free tag printable (See below)
- 2″ circle paper punch
- Hole punch
- Bakers twine
- Ruler
- Scissors
- Candy (I used 1/4 cup of M&M’s to fill each 2.5 oz jar)
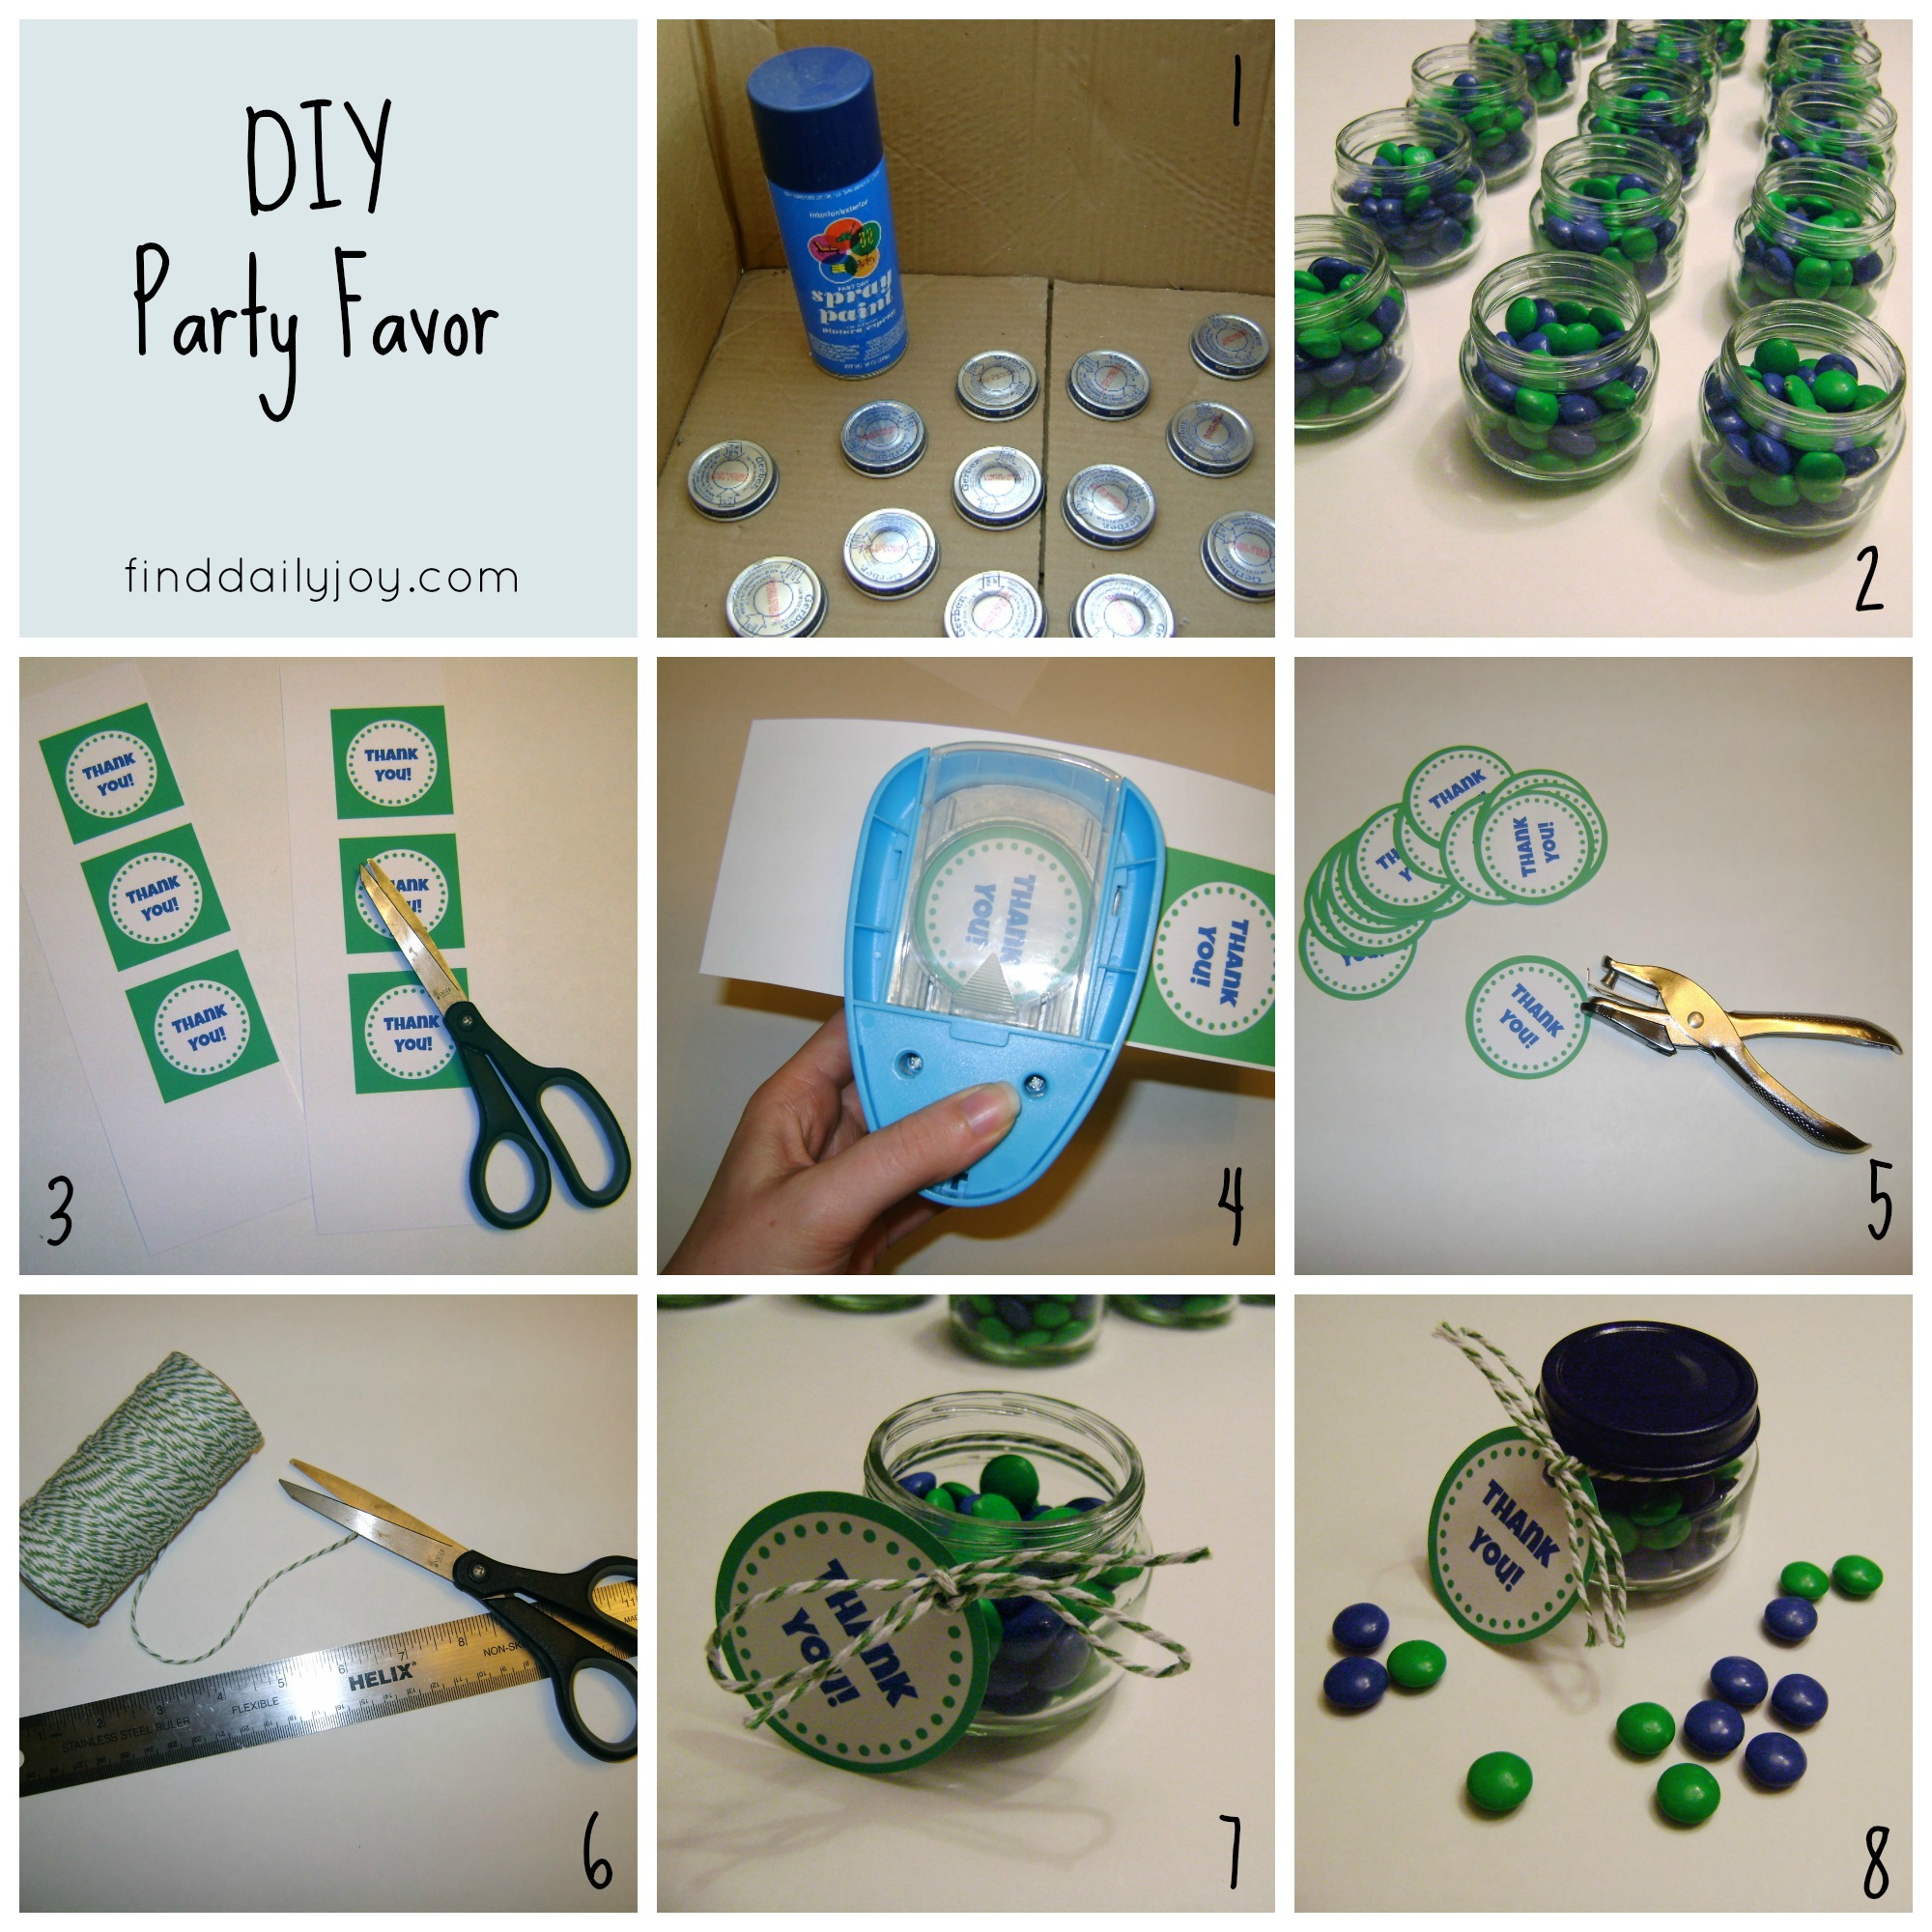
- Remove the lids from the baby food jars and coat with spray paint.
- Clean the jars and fill with candy. I tried a few different tactics to remove the glue from the jars. What worked best for me was to soak the jars in BOILING hot water for a few minutes then pull them out (be sure to wear rubber gloves) and immediately wipe off the softened glue. There was still a little residue which I then cleaned off using Goo Gone.
- Download the free tag printable (found below), print the tags onto card stock and cut into strips. If you cut near the edges of the boxes it will be easier to line up your paper punch.
- Center your tags in the 2″ circular paper punch and punch out your tags.
- Punch a hole in each of your tags with a hole punch.
- Cut a length of bakers twine 18″ long for each jar.
- Wrap the bakers twine around the jar, add a tag and tie the twine in a bow.
- Screw your lids onto the jars and smile at your cute little favors.
To download your own tags for free simply right click on the image below and save it to your computer.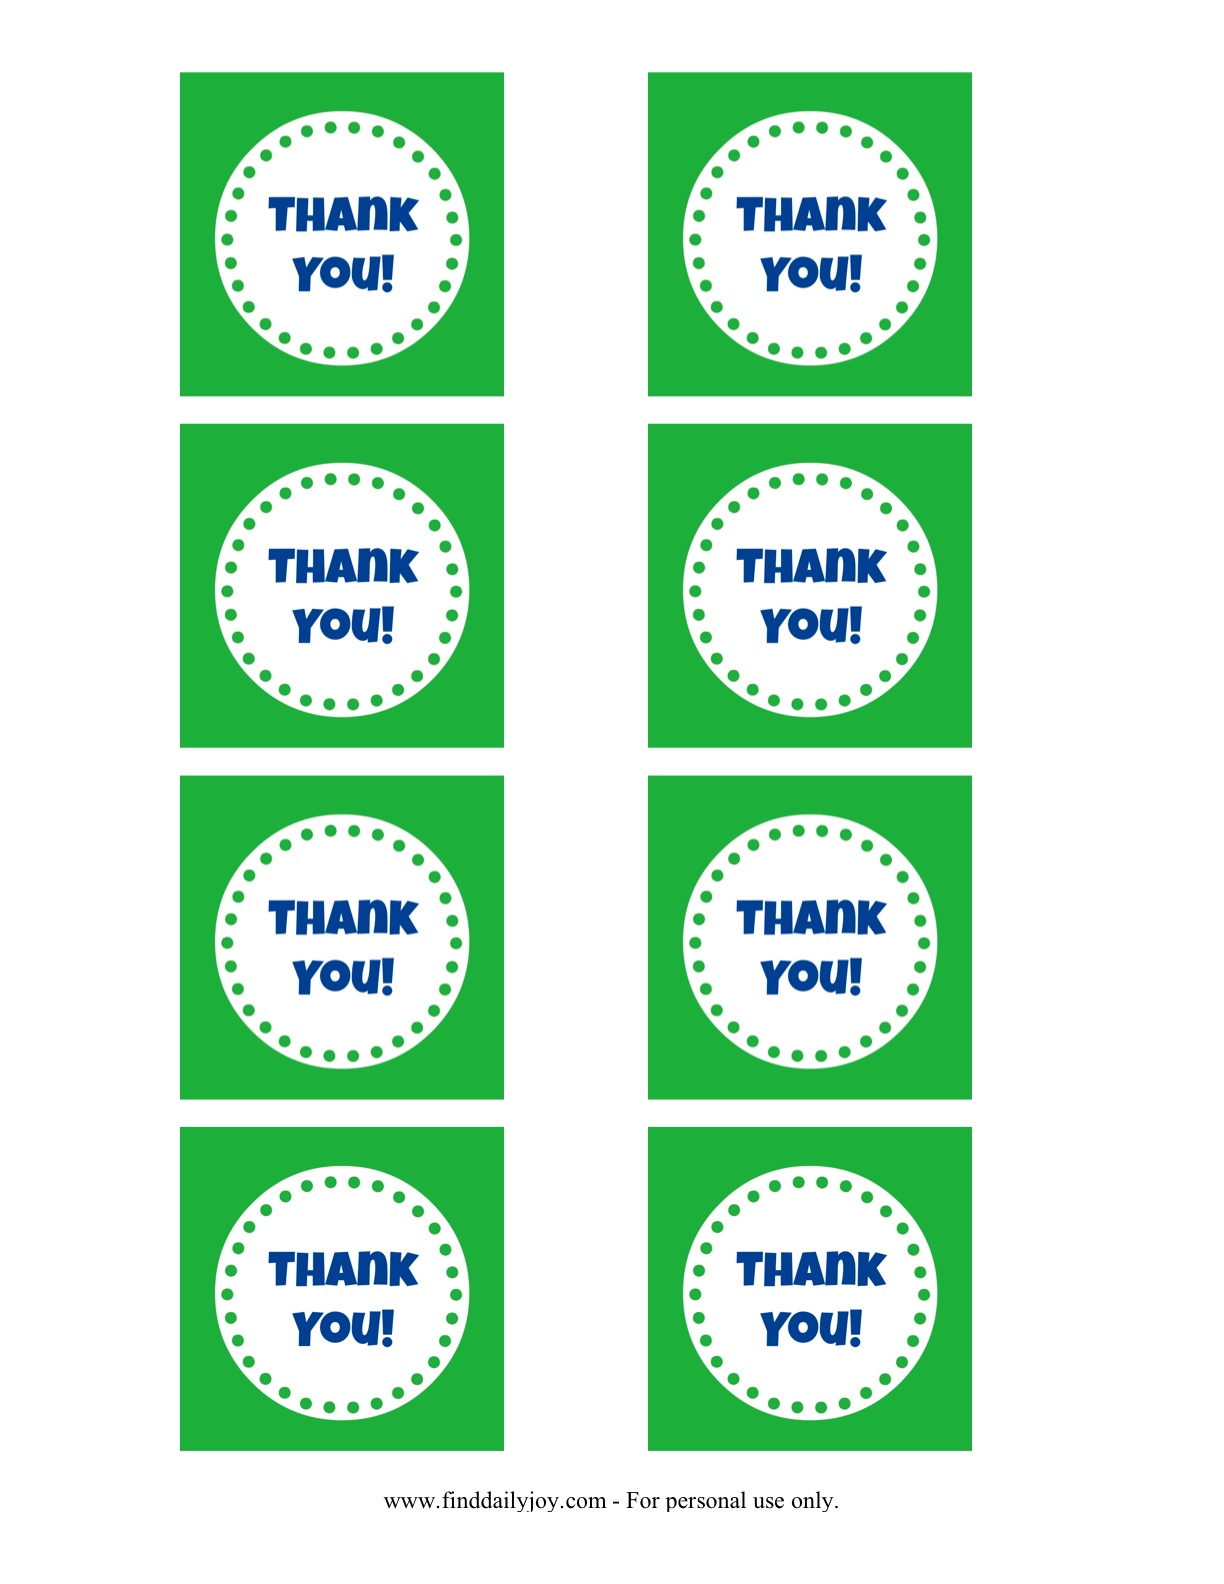
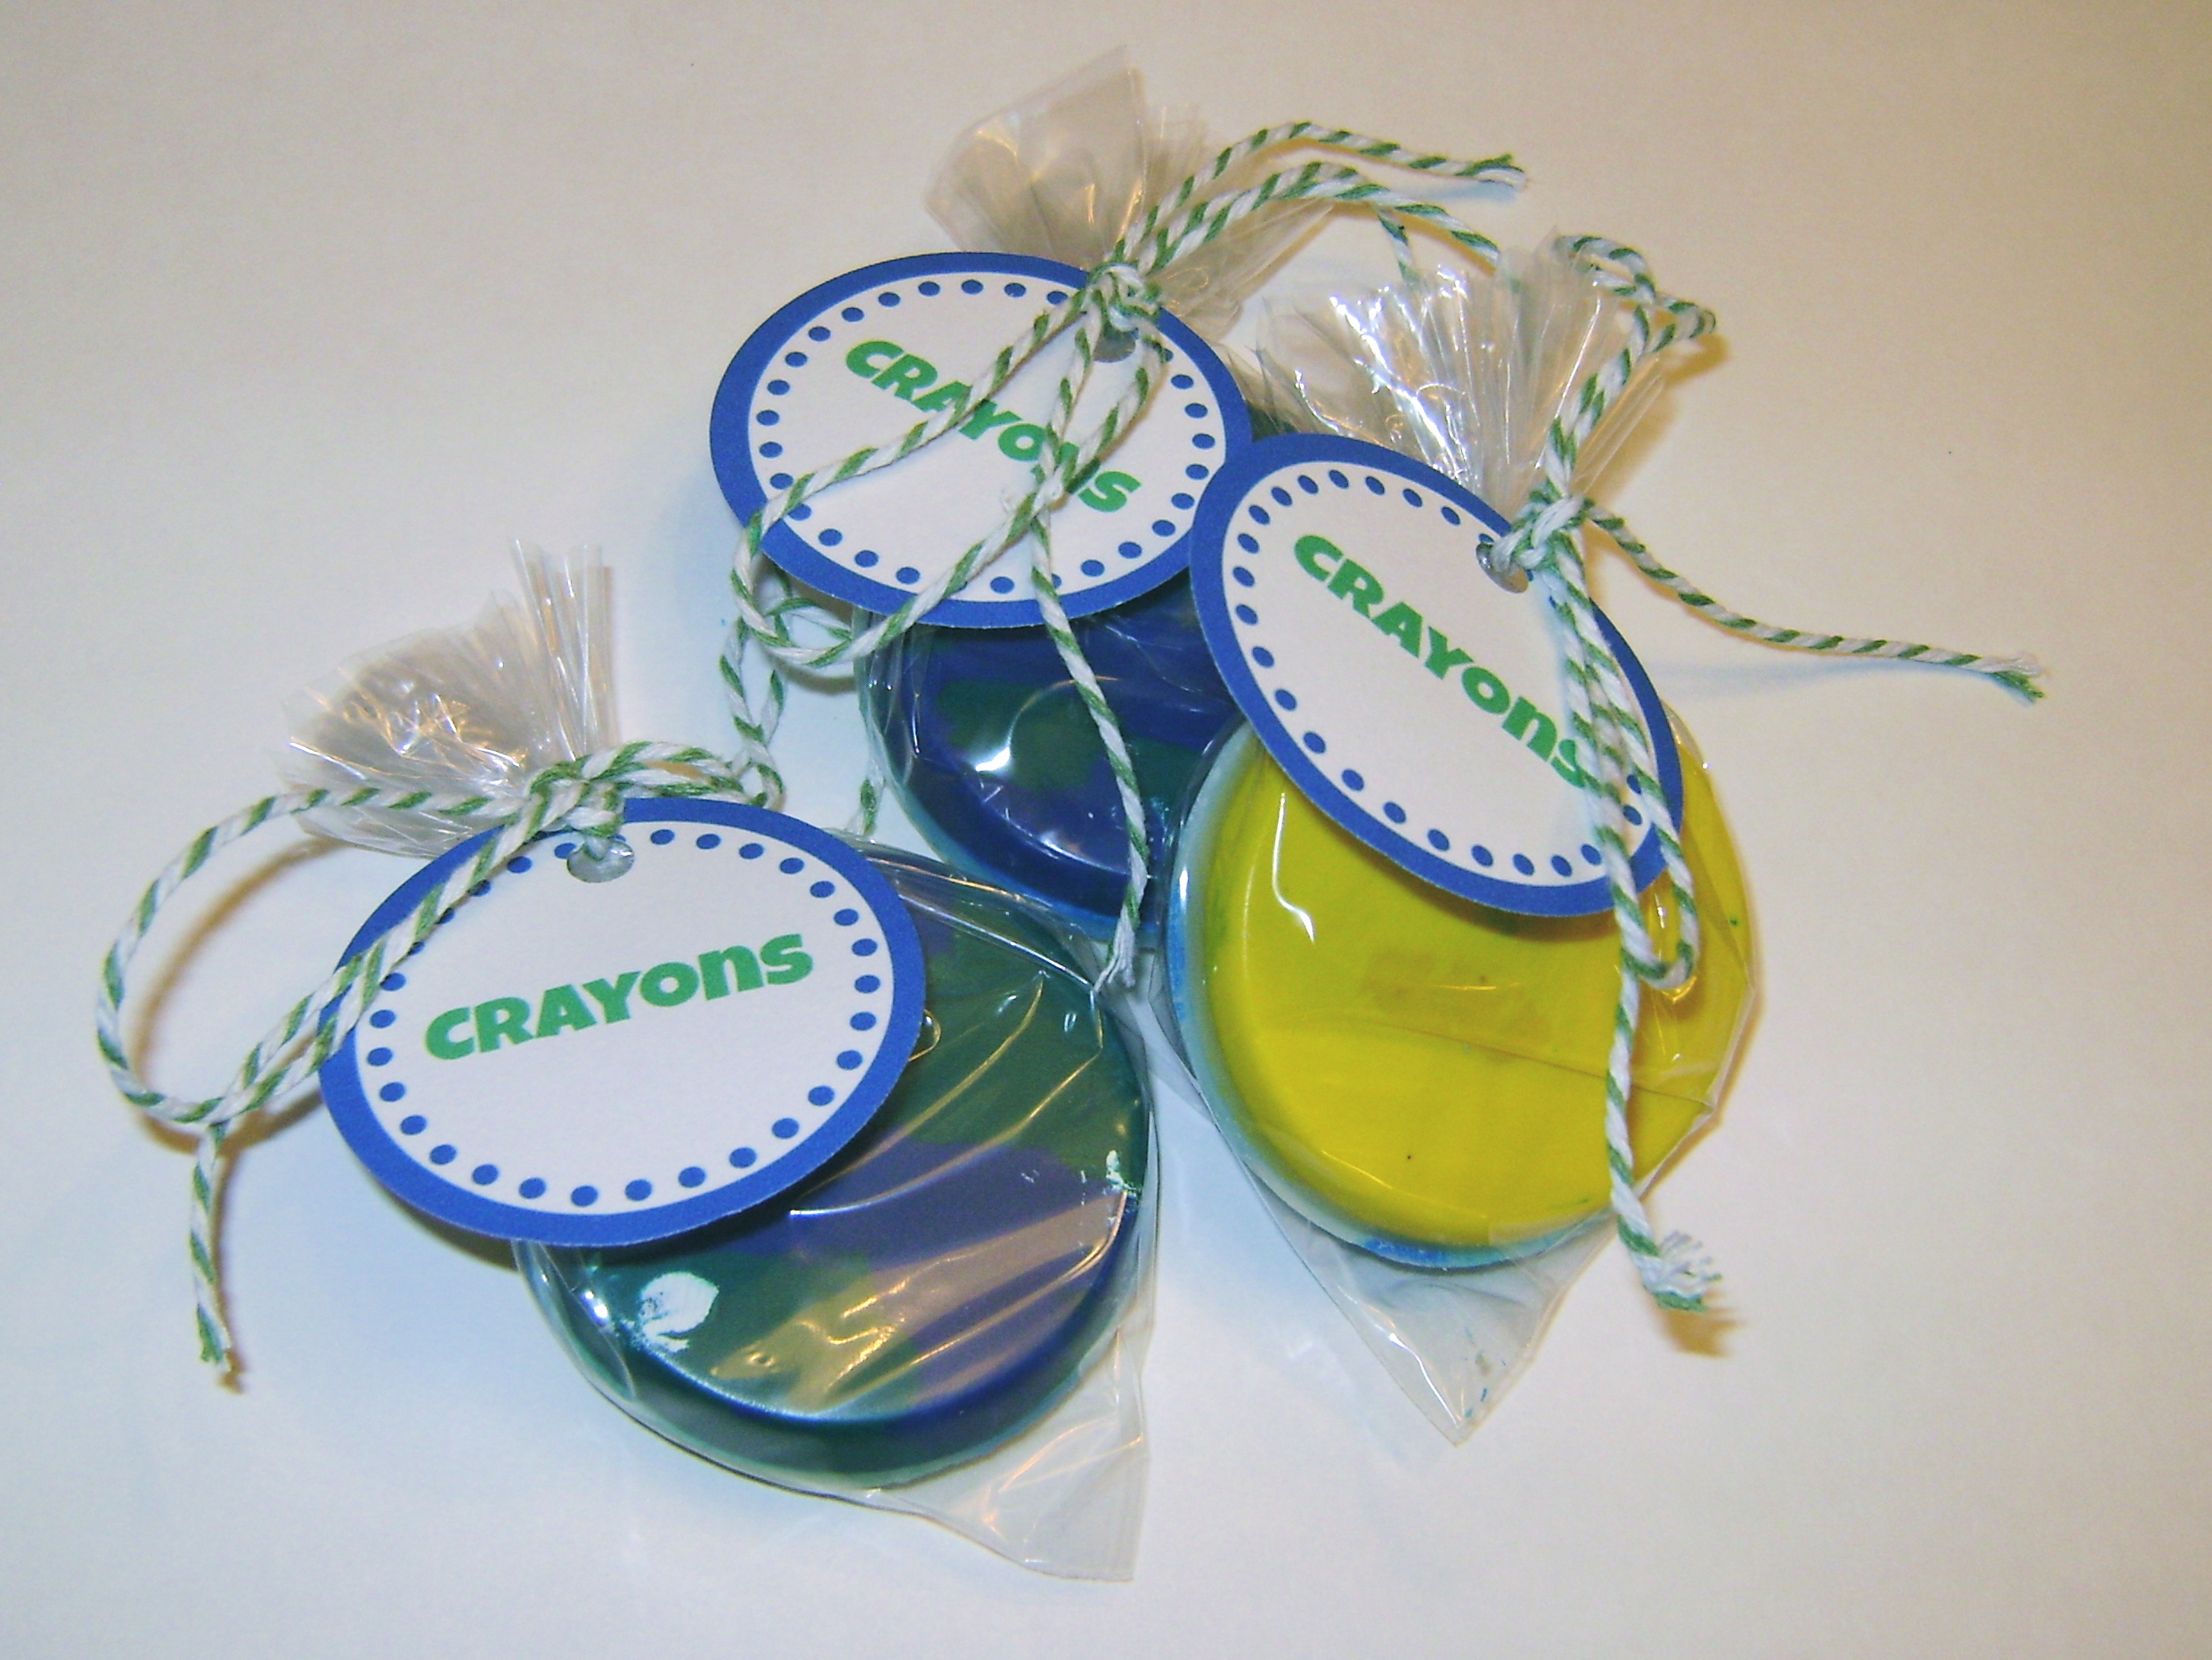
The next party favor was for the little kiddos. I first saw these earth crayons back in April when Tonia from The Gunny Sack was sharing ideas for earth day. I decided to make not only earth crayons but also sun crayons! To learn how to make your own crayons hop on over the Tonia’s blog and follow her directions here.
To download your own tags for free simply right click on the image below and save it to your computer.
At the very last minute (and by last minute I mean the guests were all ready at my house!) my Mom and I decided to make little paper boxes for our guests to take home cupcakes in. My Mom followed the instructions from the blog Sarah Hearts here. Since she was a little short on time she didn’t draw out the grid on the plate or paperclip things together like Sarah did but she said they were very easy to make.
Well that’s it. I hope you enjoy your party!


Such a cute use of the baskets! Glad your mom found my tutorial helpful!